
Injectors

Injectors
The injectors are one of the least unreliable elements of the injection system. However, in order not to have problems with them, it is necessary to keep special cleanliness when operating on an open injection system. The injectors are protected by a triple filtering system:
- mesh filter in the fuel tank
- replacement filter on the fuel line (Megane only)
- filter in the high pressure pump inlet
- filter at the entrance to the injection rail.
- filter in front of the fuel regulator
Nevertheless, if a bit of dirt gets into the injection rail and is sucked in by the injector, it will become clogged. It is manifested most often by uneven engine operation and it is not possible to diagnose the cause of this condition using a computer. In this case, the damaged injector should be replaced with a working one.
Due to the fact that the Lagoon does not have any replaceable fuel filter, it is recommended to use an additional paper filter that increases the cleanliness of the fuel system and is easy to replace. An example of an additional filter installation in the engine compartment.
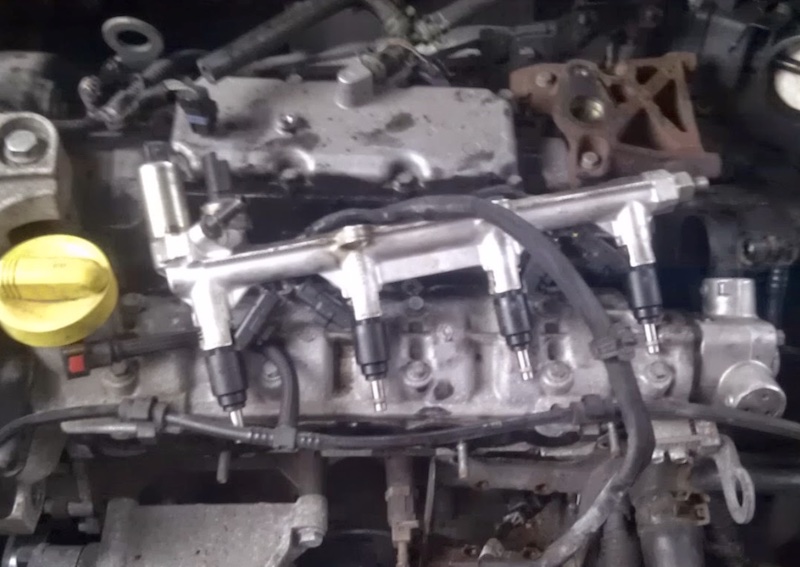
Dissasembly and assembly of the injection rail
Very important ! all work may only be carried out on a cold engine. You should also have a fire extinguisher nearby, just in case. Attempting to remove it while the engine is hot may result in fire. The fuel is under high pressure and at a temperature of about 100. Unsealing of such a system leads to the immediate boiling of gasoline and its discharge outside, which may cause ignition and explosion of vapors or burns. Be especially clean so that no dirt gets into the injection system. Non-compliance with cleanliness can lead to damage to the injectors.
- Disconnect the air filter tube and the idle speed control tube
- Remove the air resonator.
- Unclip the brake master cylinder vacuum hose
- Unplug the throttle potentiometer plug
- Unscrew the ignition wire strip together with the coil (it is not possible to mix up the wires then)
- Disconnect the plugs of the vacuum and air temperature sensor
- Disconnect the plugs of the regulator and pressure sensor
- Disconnect the idle regulator valve plug
- Disconnect the crankcase breather tube
- Disconnect the vent hose leading to the carbon filter
- Remove the two "10" screws on the top of the manifold and the two "13" screws on the front of the manifold
- Unscrew two "M8" pins (central and right) that fasten the collector from the bottom. *
- Disconnect the injector harness plug
- Unscrew the steel pipe from the high pressure pump
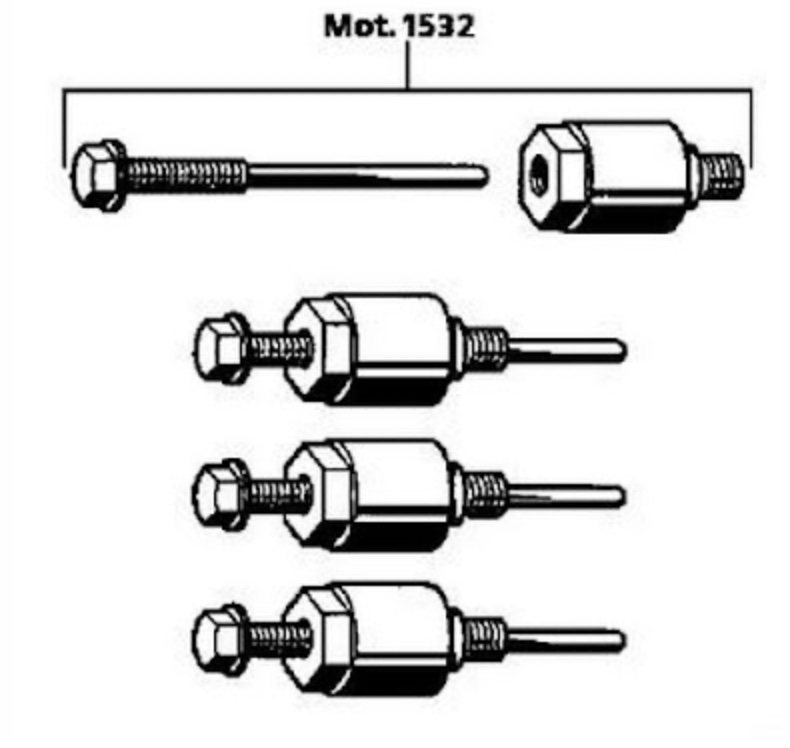
- Using a tool similar in operation to mot1532, remove the complete injection rail
- Remove the injectors securing with a screwdriver
- Pull the injectors out of the rail
* The pins on the left do not need to be removed because the collector has a notch that allows the collector to be moved upwards to the right. If we do not remove these pins, the alternator will make it difficult to remove the collector. After removing the studs and unscrewing one screw from the timing cover side, the collector slightly moves to the right and up. The collector can be pulled out without unscrewing the pins, but you have to tear it a little in all directions. It is worse with insertion, in addition, you can damage the gasket between the manifold and the head.
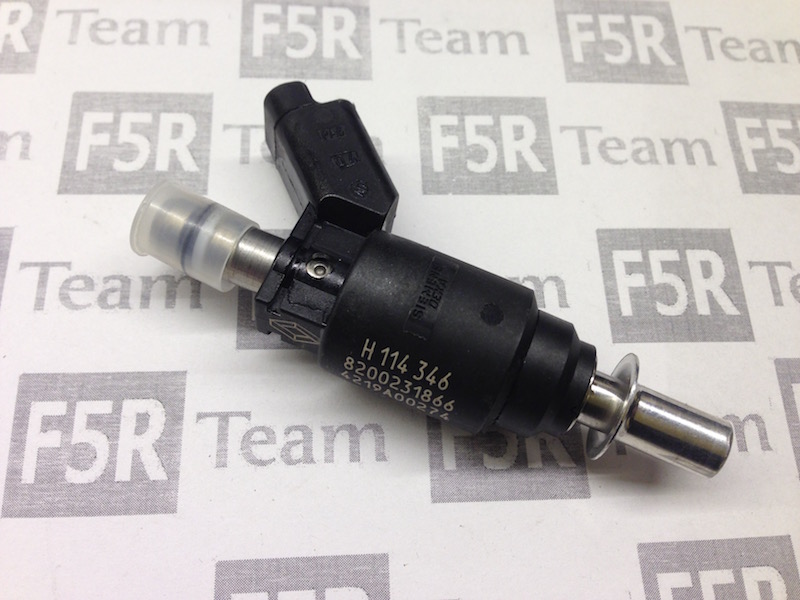
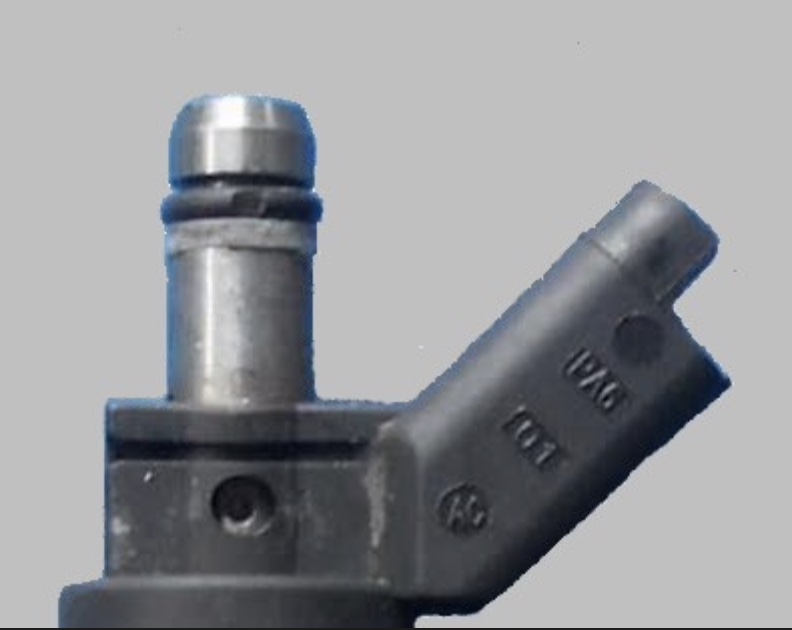
Prior to installation, replace the upper injector O-ring and the Teflon washer. The lower Teflon sleeve should be replaced when teflon melting is visible due to the flow of hot gases. A special tool is required to replace the bushing. Installation takes place in the reverse order. Remember to lubricate the O-rings before pressing the injectors into the rail, it facilitates assembly and prevents twisting.
The tightness of the system is essential for proper engine operation and safety. Therefore, all operations are performed at your own risk.
Original injector seal kit 7701206551
Damage to the upper injector seal